


How to Measure A Window for Replacement

Replacing old, drafty windows with new, energy-efficient models is an excellent way to improve the comfort and efficiency of your home. However, for replacement windows to function correctly and look their best, accurate measurements of the existing window openings are essential.
This comprehensive guide will walk through the key steps for correctly measuring windows to ensure your new replacements fit perfectly. We will discuss:
- The importance of accurate window measurements. Ill-fitting windows fail to seal properly, costing money and wasting energy.
- Who should measure window openings: DIY or hire a professional? What are the trade-offs?
By carefully following the measurement best practices outlined here before purchasing, you can guarantee your new windows are sized right and installed properly.
Gathering essential tools and materials
Before starting the window measurement process, be sure to gather a few essential tools and materials. Having the right supplies on hand lets you take precise, systematic measurements. You will need:
- Measuring tape – Use a durable 25+ foot steel retractable measuring tape that spans from floor to ceiling to capture all vertical and overhead dimensions accurately.
- Notebook and pen – Record all measurements neatly in an organized notebook as soon as you take them. Include explanatory notes and sketches.
- Pencil or erasable marker – Make minor removable marks on the window frames to indicate important measurement points or dimensions.
That was the easy part! With just these few supplies, you can capture precise data. Now, we need to discuss window components and how to measure them. Remember that small errors can accrue and lead to big mistakes when ordering your replacement windows, so precision and double-checking are heavily advised.
Window components – what do you need to know?
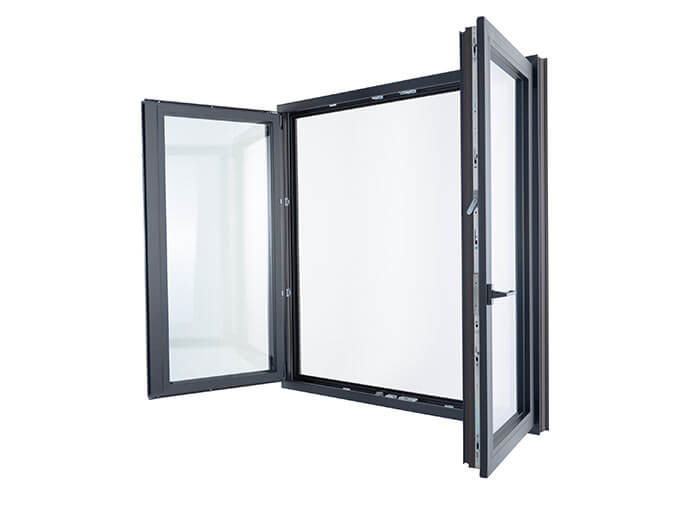
Windows may seem simple, but they consist of several distinct structural components. The main elements are:
Jambs: The jambs are the vertical structural pieces along the sides that form the window frame and serve as an exterior sealing surface when closed against the sash. There is a jamb on each side.
Head: The head is the horizontal structural member across the top of the frame. When the window is closed, the meeting rail of the sash seals against the head.
Sill: Located at the base of the window opening, the sill is the bottom horizontal piece that supports the vertical jambs.
Sash: The sash is the operating part of the window, usually divided into two glazed panels called “lights” by grilles. Casement styles have hinged sash sections.
Understanding how these pieces fit together to create a window frame allows you to systematically measure each component and determine the full dimensions of the existing window for accurate replacements. Great, we’re getting closer. Let’s measure the width.
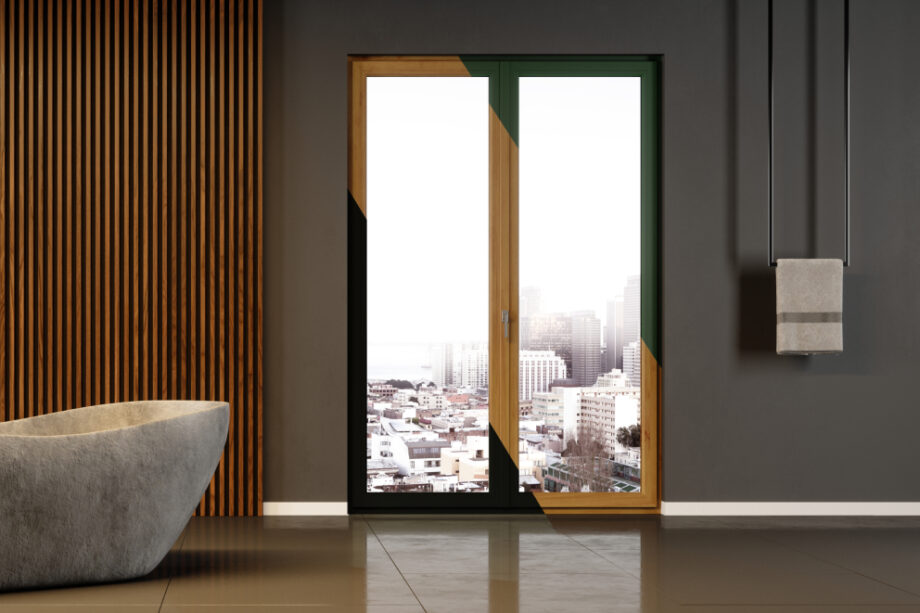
Measuring window width
When taking window width measurements, use a three-point method for accuracy: capture the width at the top, middle, and bottom of the window opening. This ensures your replacement window fits snugly across the entire height. Follow these steps:
- Measure across the head (top) of the window frame from jamb to jamb. Record this width.
- Measure the middle width by placing your tape measure horizontally at the halfway point of the vertical opening. Again, span fully between the side jambs.
- Take a third width measurement along the sill (bottom) of the frame opening between the jambs.
Be sure measurements are taken perfectly horizontally at each height indicator – use a level if necessary. Record all three widths, but use the smallest dimension. This guarantees your window replacement will have sufficient frame contact and sealing surface on all sides when installed vertically.
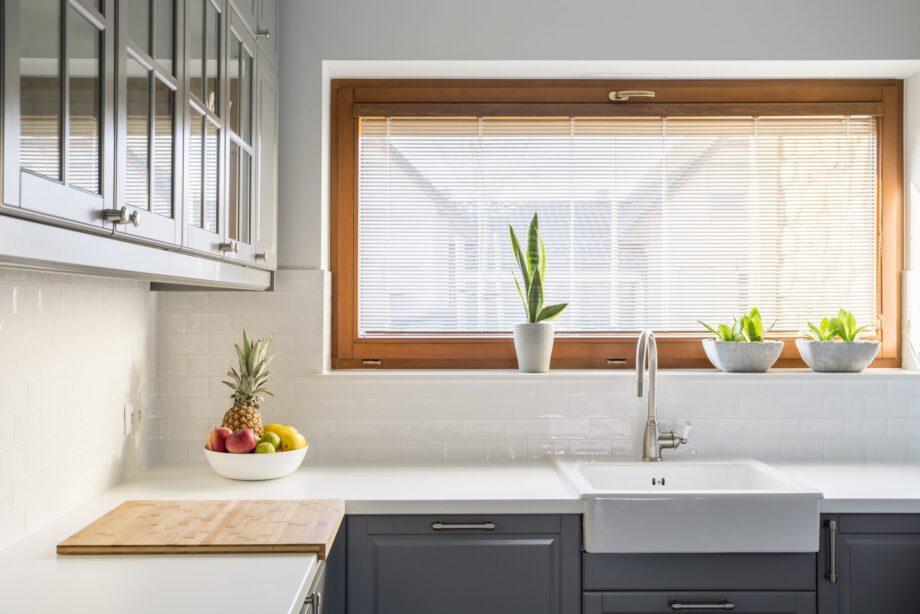
IMPORTANT NOTE:
Add 1-2 inches to the smallest width for windows with exterior trim or casing to account for the additional decorative framing.

Measuring window height
Similar to the width, take a three-point method for accurately measuring window height as well. Capture the height dimensions on the left, middle, and right sides. Follow these steps:
- Measure the height on the left side jamb from the head to the sill. Record this dimension.
- Take a middle height measurement by running your tape measure vertically down the exact midpoint of the window frame from head to sill.
- Measure the height along the right jamb from head to sill.
Be extremely precise that the measurements are perfectly perpendicular and not angular at each point. Compare the three height values and record the smallest number. Using the smallest dimension ensures your window replacement will fit tightly within the entire width of the opening.
For windows with decorative exterior trim installed around them, add 1-2 inches to the smallest height measurement to account for this additional casing.
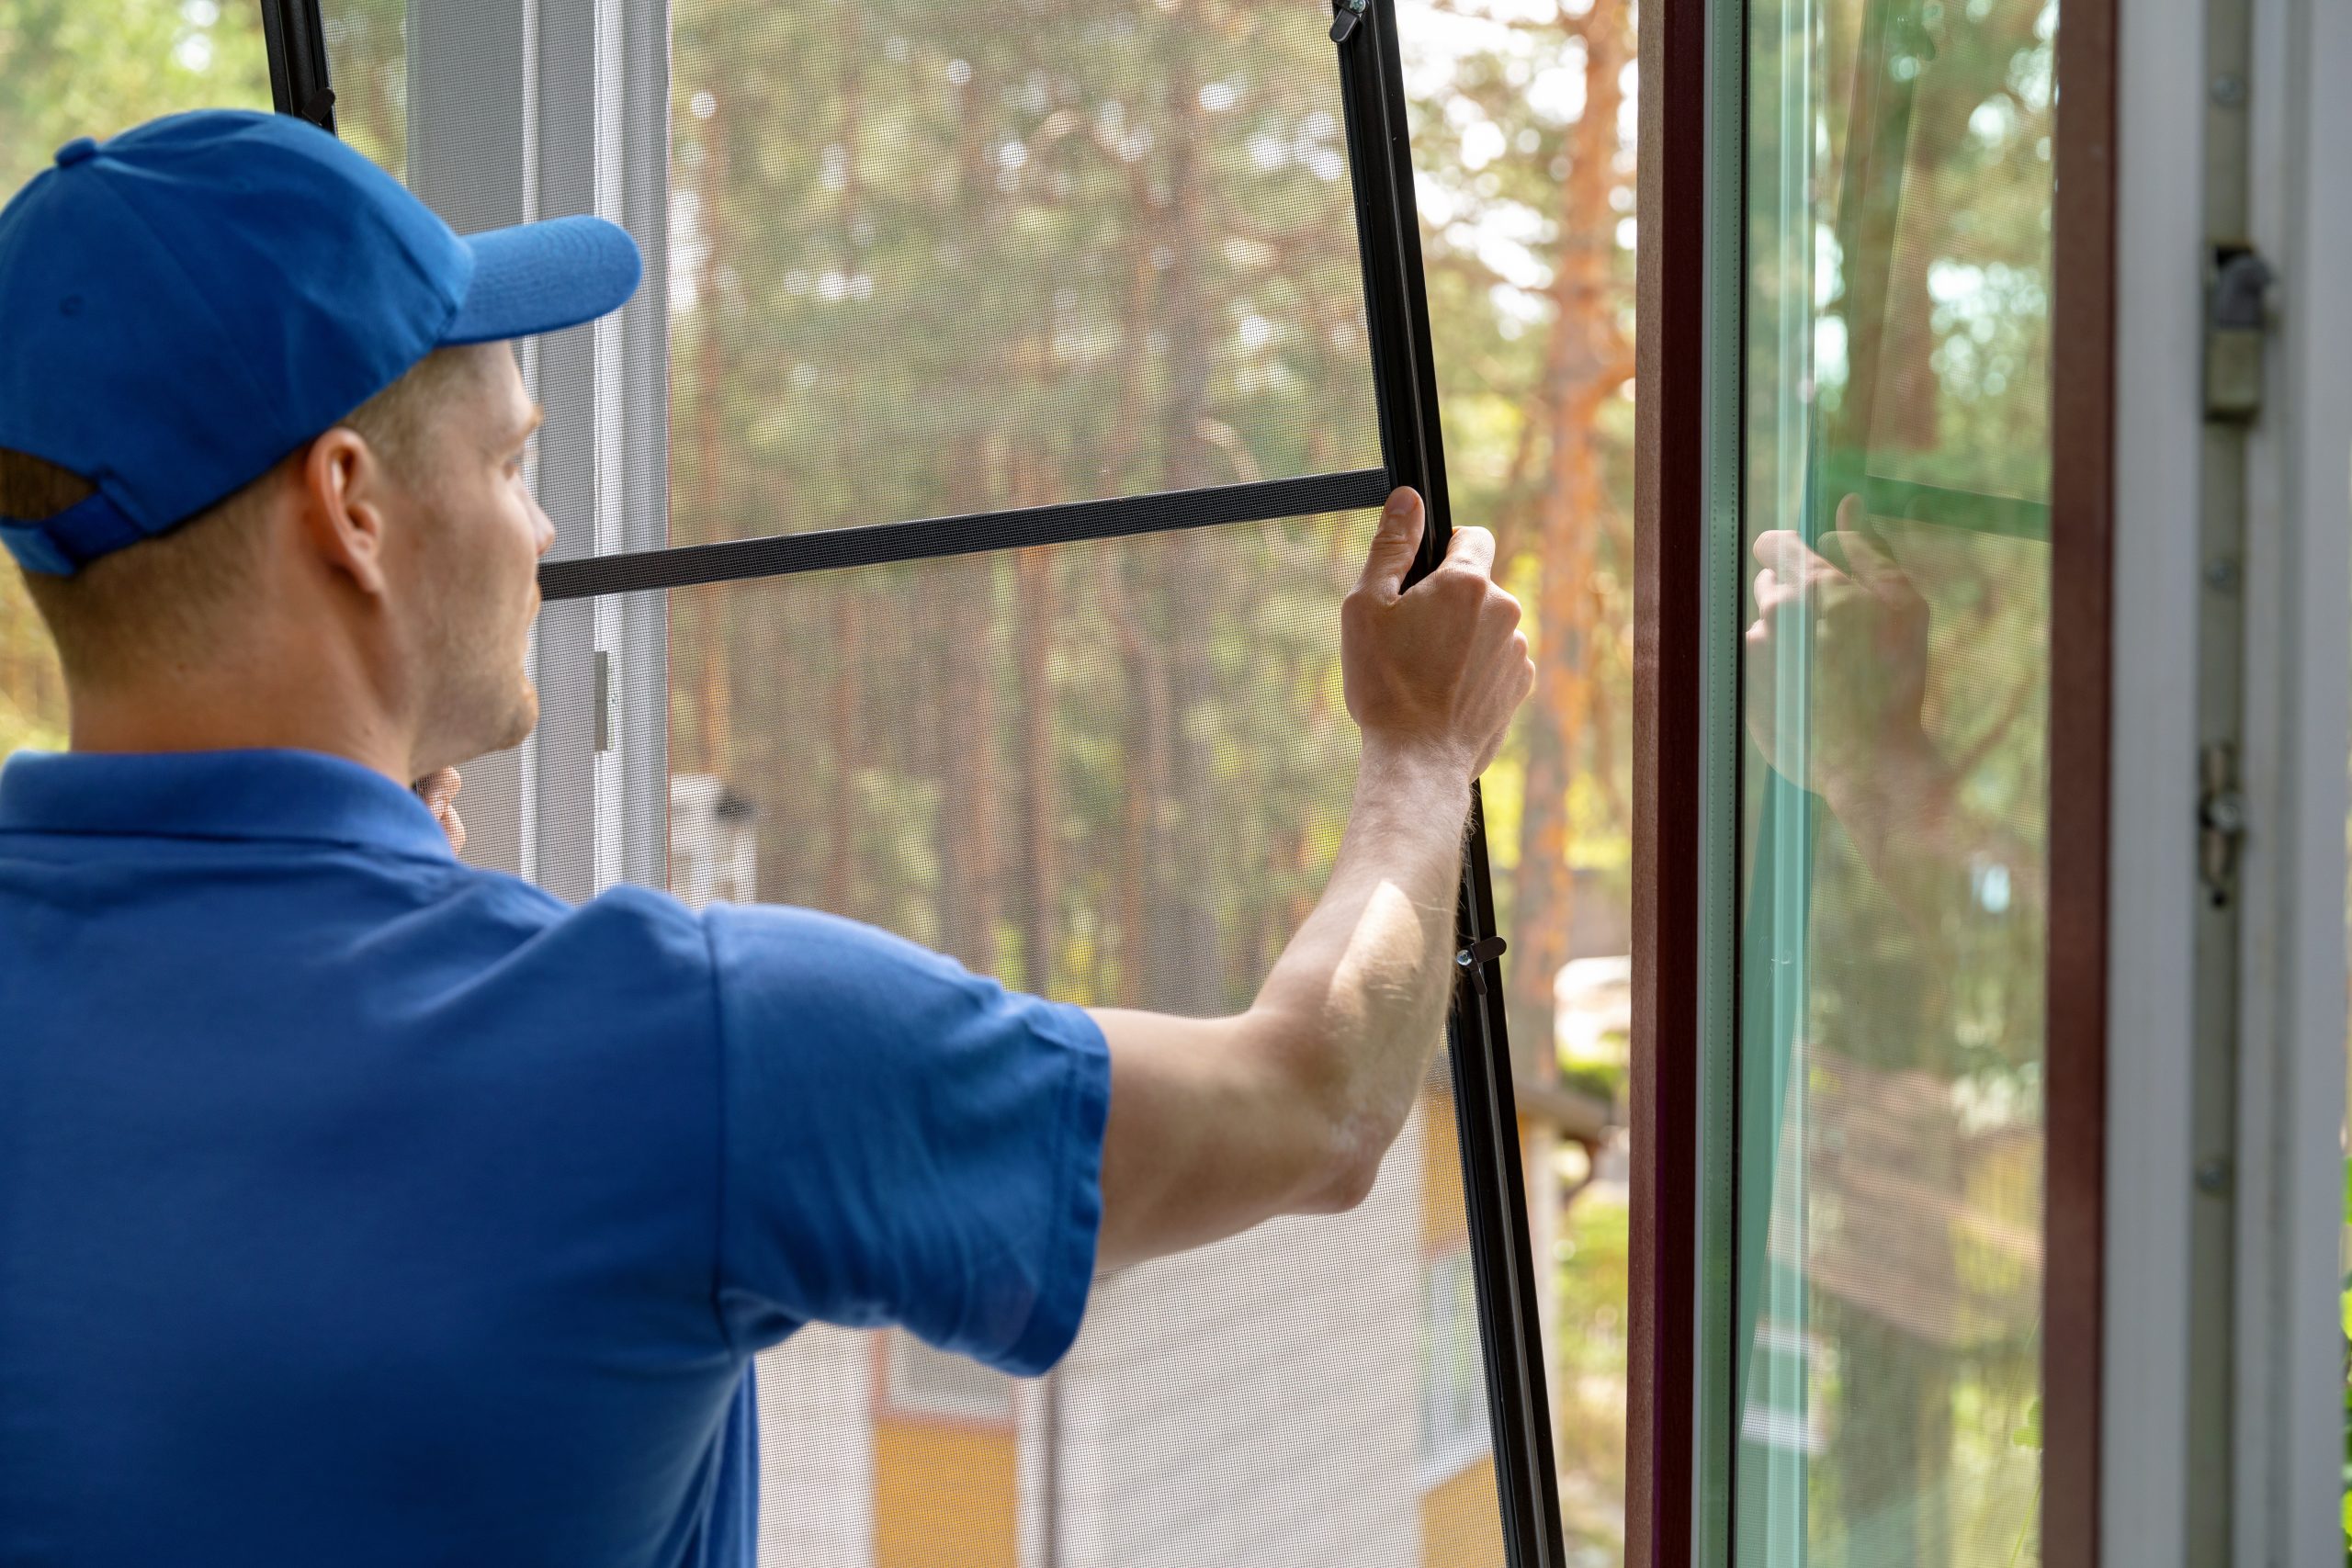
Measuring jamb depth
In addition to width and height, accurately measuring the jamb depth is important for proper window replacement. The jamb depth refers to the horizontal thickness of the window frame from the interior to the exterior surface. Follow these steps:
- Open the window sash fully to expose the side jamb framing.
- At the top area of either the left or right jamb, run your tape measure perpendicular from the interior wall surface outwards to the exterior surface.
- Record the jamb depth measurement precisely. Compare depth higher and lower on the jamb to ensure consistency.
Accurately measuring jamb depth allows manufacturers to incorporate the proper exterior brickmould or trim hardware for a flush exterior fit with the wall cladding. It also enables them to factor in sufficient interior window return depth for the replacement unit.
Recording and reviewing measurements
Once you have thoroughly captured window measurements across all exterior framing, your job is not yet complete. Proper documentation, review, and verification is critical for accuracy. Double-check all numbers to confirm consistency between the height and width sides. Look for any discrepancies or outliers that may indicate measurement errors. Physically re-measuring questionable dimensions is smart diligence. Keep your recorded measurements safe for future reference when ordering replacement units or for returns. This data may also provide valuable information when renovating the area down the road. Taking the time to record and review now carefully prevents issues later.
Seeking professional help
While basic rectangular windows may seem straightforward for DIY measuring, certain complex situations warrant hiring a professional installer. This includes window openings with unusual shapes, angles, curves, or masonry elements that require custom expertise or equipment to measure properly. Also, consider pro help if the prospect of accurately measuring window openings seems intimidating or fraught with room for error based on your skill level and tools on hand. Precision is the key to success. OKNOPLAST offers professional measurement services by qualified installers when ordering replacement units for added quality assurance and convenient installation.
How to measure a window for replacement – final thoughts
Accurately measuring all elements of your existing window openings is crucial for a successful window replacement project. You can capture precise measurements the first time by methodically following the best practices in this guide. Providing complete dimensions to window manufacturers reduces mistakes, hassles, and rework down the road after ordering replacements. Investing in diligent care measuring now saves significant time, money, and headaches later during the replacement process.
Seeking professional help when needed also eases the process. Take the extra time upfront to measure thoroughly and record data neatly. Cross-check numbers for consistency and accuracy. Reach out to our team if you need help with your project; we will ensure the precise measuring service and help you find the perfect replacement windows for your home.
Key Takeaways
- Ensuring precise measurements is crucial to prevent ill-fitting windows that lead to energy loss and increased costs.
- Decide whether to measure windows yourself or hire a professional, considering the trade-offs between DIY efforts and professional accuracy.
- Gather necessary tools like a measuring tape, notebook, pen, pencil, or erasable marker for accurate measurements.
- For accurate measurement, familiarize yourself with window parts like jambs, head, sill, and sash.
- Use a three-point method to measure window width and height to record the smallest dimensions for a snug fit.
- Add 1-2 inches to windows with exterior trim or casing measurements.
- Accurately measure jamb depth for a proper fit of the window frame from the interior to the exterior surface.
- Document all measurements carefully, double-check for consistency, and re-measure if needed.
- Reach out to OKNOPLAST for professional measurement services and assistance with replacement windows.

Let’s talk about your project!
Request a quote, discuss specifications, or get help choosing the right system
Send a request
"*" indicates required fields